Well, it’s happened. Seventy-one percent of American consumers now prefer to manage their bank accounts through a mobile app or computer.
It’s clear modern clients want fast, easy access to the financial services they need, from online account creation and credit card applications to loan approvals and invoicing. Yet, financial services organizations are struggling to deliver digitization fast enough. It’s no surprise, given the constant challenges facing the industry, from security risks and regulatory compliance to talent gaps and rising costs.
A digital paradox has arrived, forcing finserv orgs to innovate with skeleton crews and tight budgets.
Yet institutions like Lenderfit, TASC, Ameris Bank, and America’s Christian Credit Union are doing just that. How? Through the power of automated finance workflows.
In this guide, we provide real-life examples from finserv organizations just like yours that demonstrate how to simplify financial process automation to better address the needs of clients and employees. Not confident in building workflows? No problem. We give you step-by-step guidance complete with necessary features, templates, and testimonials.
The Power of Financial Process Automation
Why is it important for financial institutions to implement digitization and automation, anyway?
Banking customers are now more digitally savvy than ever. Seventy-two percent of customers say they want immediate service, and 70% consider a consistent experience across channels to be extremely or very important in choosing their primary bank.
So when you require them to fill out lengthy paperwork for a loan or new account, manually enter data they've likely provided before, or wait days or weeks for a response, you create negative experiences that impact their loyalty and retention.
And clients aren't the only ones who expect digital innovation and ease. Your employees are just as likely to want digital-first experiences that eliminate paper pushing. Whether they work in HR, client services, sales, or marketing, employees want to be free from manual work and paper processes.
In fact, our State of Digital Maturity report found that 72% of workers think inefficient processes negatively impact their job. When organizations lack digitization and automation, employees report higher levels of frustration, stress, and dissatisfaction. They end up devoting their time to mindless, repetitive tasks instead of more strategic, fulfilling, and impactful work. How much time exactly? An average of two hours per day, according to our research.

But the negative impacts of manual work don't stop there. Just one employee wasting two hours per day on inefficient tasks can cost your organization more than $14,846 a year, according to the latest U.S. salary data. The average commercial banking institution in the U.S. has over 31 employees, which means this can add up to more than $464,000 per year. Is there room in your budget for that labor cost?
The good news is that automating your workflows doesn't require a massive budget, timeline, or IT team. All you need is intuitive workflow technology and a bit of guidance. That's what this guide is here to provide.
How to Automate Financial Processes
Trust us when we say it doesn’t take extensive digital transformation, architecture upheaval, or even IT involvement to start reaping the benefits of financial workflow management. Formstack makes it easy for team members of any technical level to build fully automated financial workflows—for things like digital loan applications, client agreements, and service requests—in a drag-and-drop visual workflow builder. That means every team across your organization can reap the benefits of financial workflow management, from client services and sales to marketing and HR.
And with AI, the possibilities are endless. AI has made building workflows fast and seamless and empowers any team member (regardless of technical aptitude) to build digital experiences.
We specialize in helping financial services organizations streamline their processes and take control of their data management across teams and departments. Below, we’ve provided the exact products, features, templates, and integrations you need to build some of the most common financial services workflows.
Workflow Tip: You can build seamless, automated Salesforce workflows with Formstack for Salesforce, an all-in-one form, document, and signature solution for your existing ecosystem.
7 Examples of Workflow Automation in Financial Services
You don’t have to waste countless hours each week copying and pasting data, preparing paperwork, searching for files, sending emails, and entering data. By implementing the financial services workflows below, you can save around 14 hours per week.
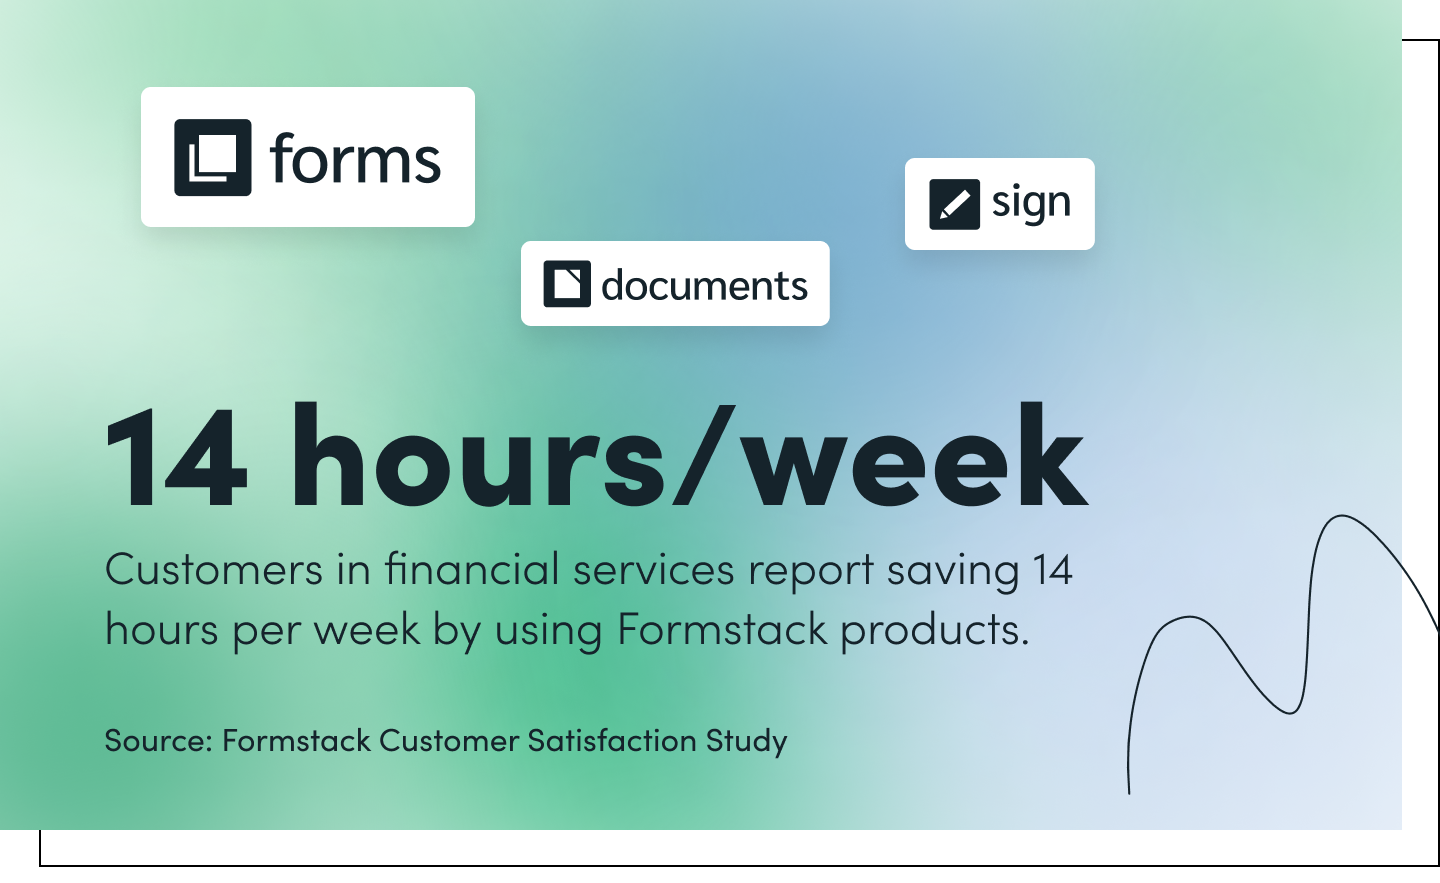
What will you do with all that extra time? Focus on impactful work that improves not only your workday but the lives of thousands of customers and employees. Let’s get started.
#1: Digital Loan Applications
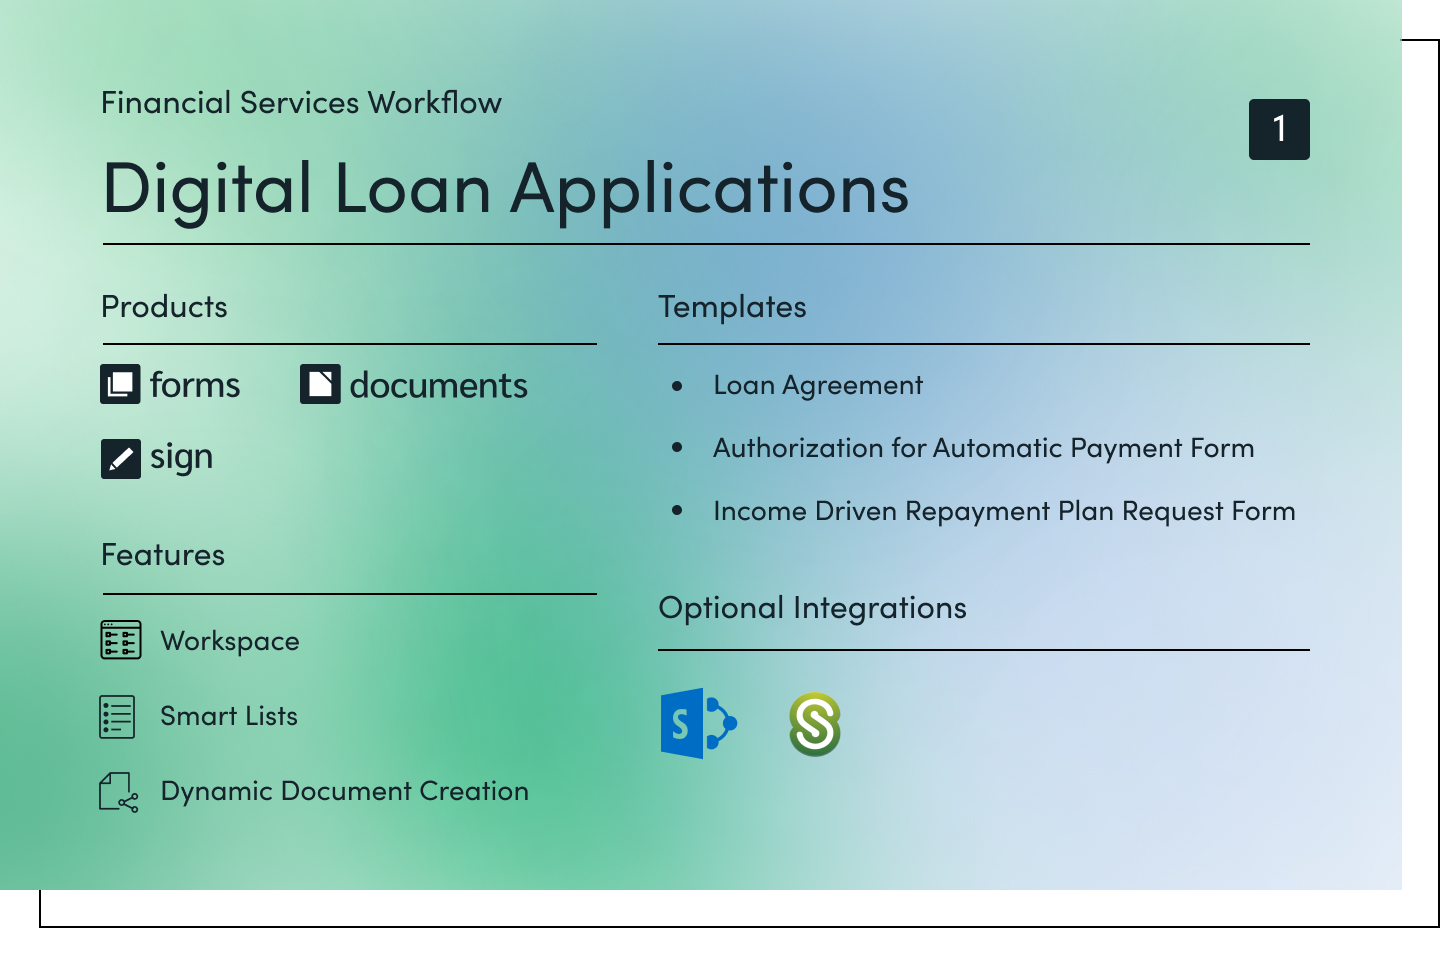
Loan applications are known to be long, cumbersome, and complicated. Paper forms add even more frustration and potential for risk, leading to data inaccuracies and bottlenecks. Even legacy digital applications can be slow and require IT maintenance. Instead, use this no-code finance workflow process to securely gather financial information and quickly process new loan applications. Offer customers an excellent digital experience, eliminate manual data entry, and ensure top-notch security.

Products: Suite
Features: Workspace · Smart Lists · Dynamic Document Creation
Templates: Loan Agreement · Authorization for Automatic Payment Form · Income Driven Repayment Plan Request Form
Optional Integrations: SharePoint · ShareFile

Step 1: Customer Inquiry and Application
New or current customers can easily inquire about loan options, processes, and applications from a lead form on your website or mobile app. Upon form submission, step logic can automatically alert the right loan officer depending on loan region, type, or size. With Workspace, the loan officer can easily see where each form is in the process without inundating the customer with email check-ins.
Workflow Tip: Use Smart Lists to quickly manage long, evolving lists of field options across all your forms. This is great for listing branch locations, loan officers, loan offerings, and more.
Step 2: Application Review and Approval
Use Workflows to assign different employees, teams, and departments to review and approve loan application details. Then, use Group Approvals to pull in multiple stakeholders for faster collaboration that mitigates bottlenecks and speeds up approval. Field Validation ensures common fields—like credit cards, emails, and phone numbers—are verified in real-time, minimizing data errors and inaccuracies. If you need more information from the customer, easily send the form back to them with clear instructions. Upon final internal approval, connect your forms to Formstack Documents to automatically generate customized, secure loan documentation.
Step 3: Loan Documentation, eSignature, and Storage
With document data routing, you can automatically combine files into one document, or create several document types from a single data source. Easily build professional, branded documents with advanced security features, such as secure downloads, data encryption, and firewall technology. Then, use Formstack Sign to gather secure electronic signatures from employees and customers in person or via email and text. Receive a signature audit trail for each document so you know exactly who signed it and when. Once all signatures are received, automatically send finalized documents to your preferred document storage solution.

#2: New Customer Onboarding and Welcome
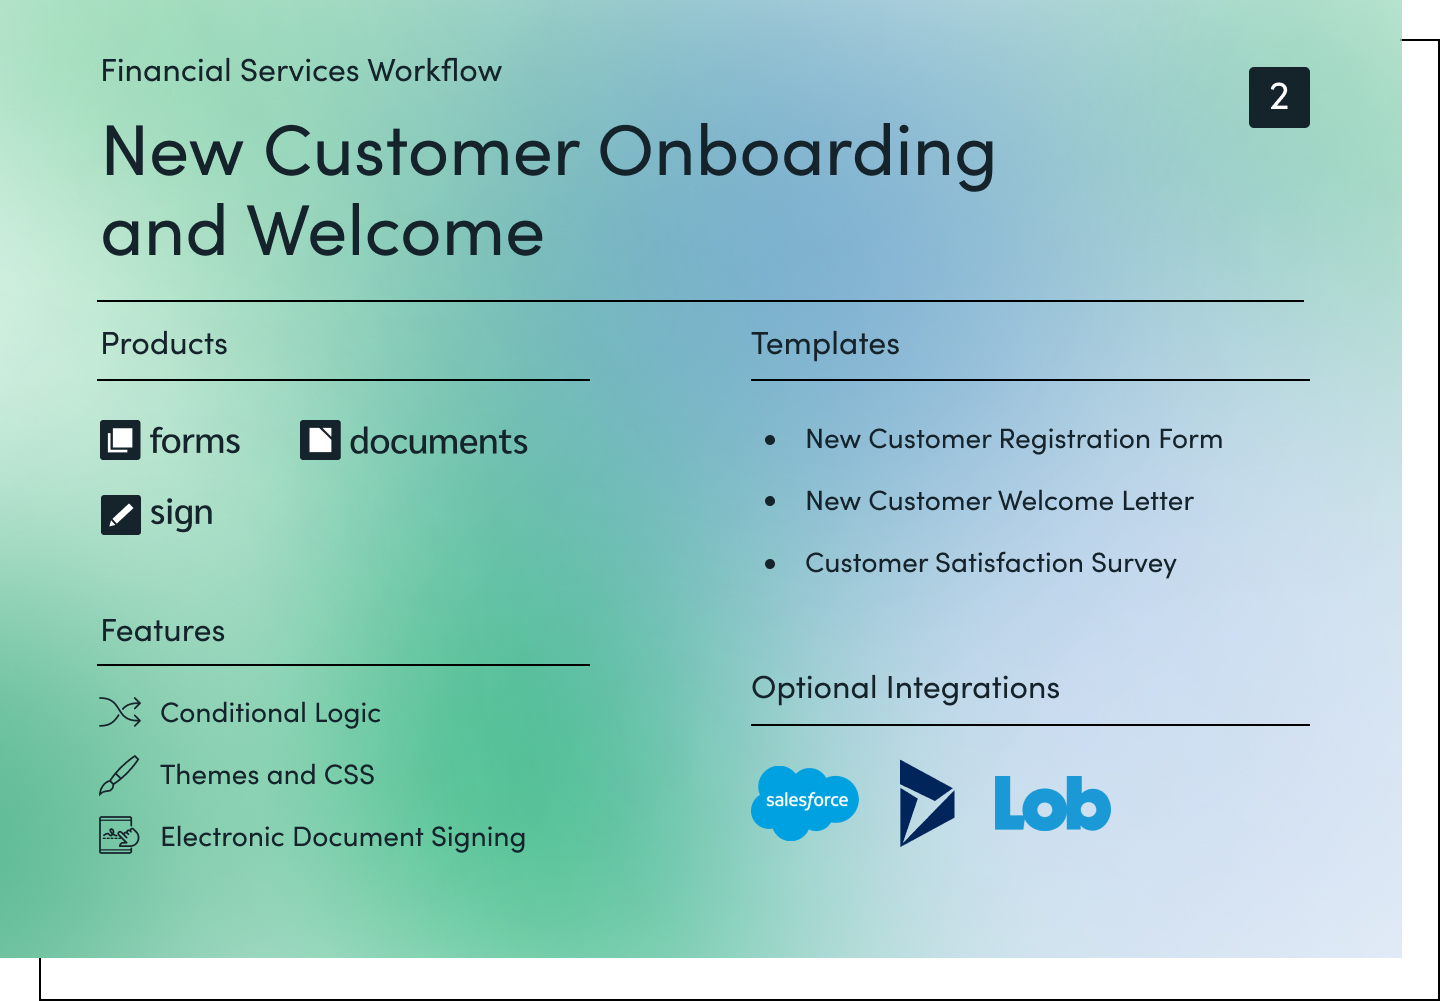
With an average customer attrition rate of 19% and a cost of over $780 to acquire a new customer, financial service providers must make smart, strategic decisions when welcoming new clients. Quickly engage with prospects and make new customers feel welcomed with this customer onboarding and welcome workflow. The best part? Automate every step of the process, from initial inquiry to signing agreements.

Products: Suite
Features: Conditional Logic · Themes and CSS · Electronic Document Signing
Templates: New Customer Registration Form · New Customer Welcome Letter · Customer Satisfaction Survey
Optional Integrations: Salesforce · Microsoft Dynamics · Lob
Step 1: New Customer Form Submission and Review
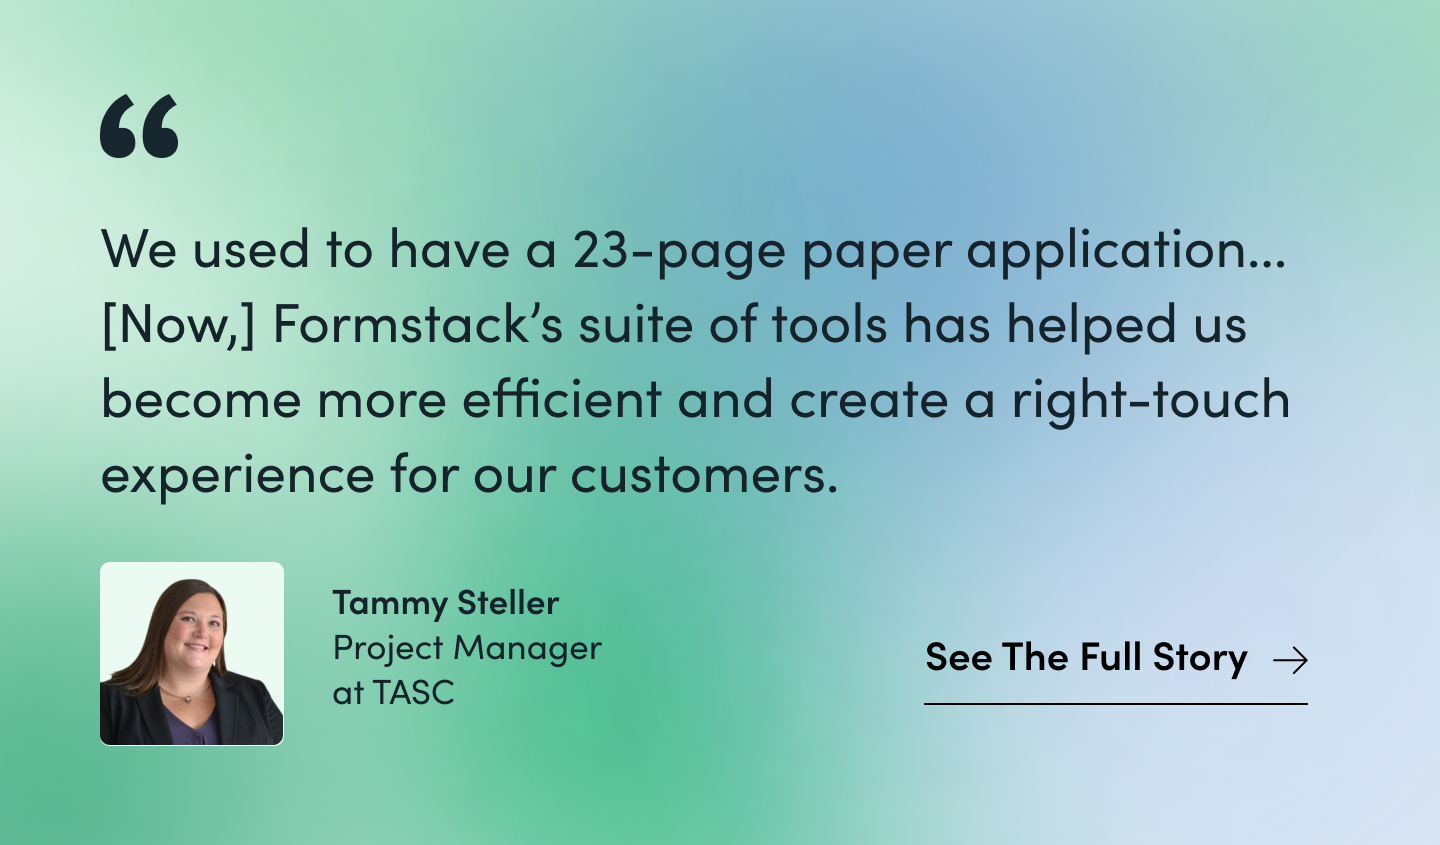
Create beautiful, AI-powered lead forms that easily embed on your website and are fully mobile-optimized. Make it incredibly simple for prospects to do business with your bank, credit union, or insurance agency by eliminating complicated PDFs and slow paperwork. Use Conditional Logic to eliminate irrelevant questions and only ask the ones that are necessary, improving the customer experience and shortening the form. If applicants must meet certain criteria to become a member, use Approvals to streamline application review and approval among your team.
Workflow Tip: Use Salesforce? Consider using this workflow with our native Salesforce tool, Formstack for Salesforce, which combines forms, documents, and eSignatures into your existing ecosystem.
Step 2: Welcome Packet and Letter
Providing the best initial experience turns new customers into long-term advocates of your business. Personalize a new customer welcome packet with their information by connecting Formstack Forms to Documents. Automatically generate final documentation, like compliance disclosures or member agreements, and personalize marketing materials. Consider mailing a welcome letter with some helpful information as well to really make a first impression.
Step 3: Customer Agreement Sign-off and Survey
If onboarding a new customer requires getting their sign-off, it’s easy to add secure electronic signature fields to your documents. Upon receipt, you can automatically add the new customer information to your CRM through one of our many integrations. Or, use our API connector to populate data into your documents from your custom or in-house systems. After 30 days, consider sending a customer satisfaction survey to ensure your products and services are meeting expectations.

#3: Quote Proposals
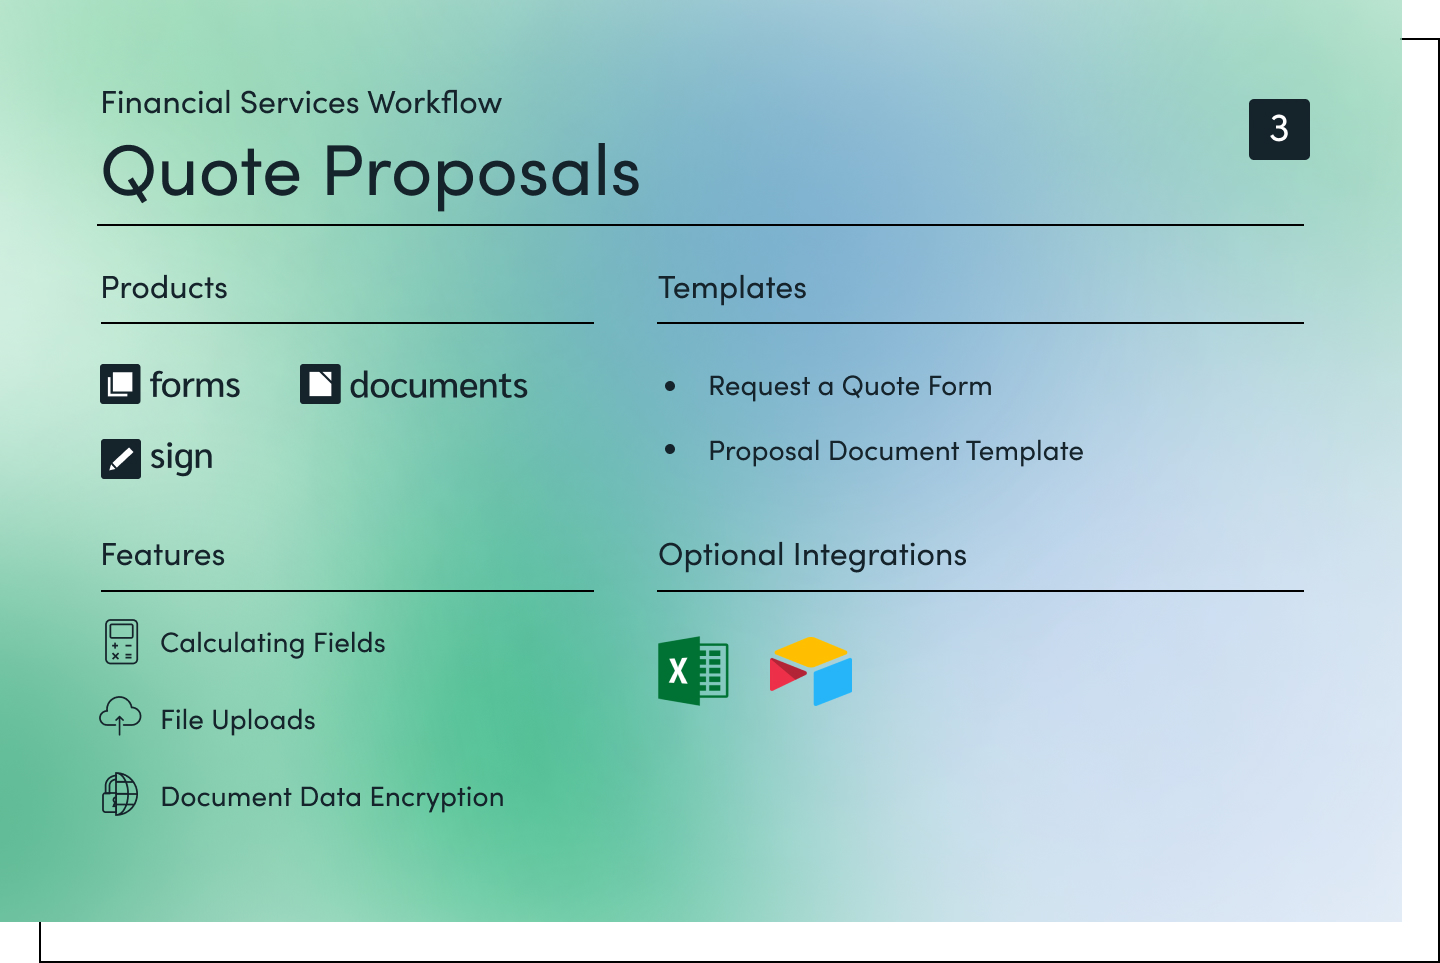
The insurance market is incredibly competitive, and consumers expect quick and excellent service. In fact, just one negative experience is enough to motivate more than 50% of consumers to switch to a competitor. Use this quote proposal workflow to ensure you can engage prospects quickly, send an accurate and clear quote within hours, and make signing documents quick and secure from their computer or mobile device.

Products: Suite
Features: Calculating Fields · File Uploads · Document Data Encryption
Templates: Request a Quote Form · Proposal Document Template
Optional Integrations: Excel · Airtable

Step 1: Quote Inquiry and Follow-Up
Add a mobile-optimized form to your website or mobile app to make requesting a quote ultra-convenient. Give your marketing team valuable insights that can increase conversions with Campaign Tracking or Partial Submissions to gather data from incomplete forms. Upon submission, the prospect will receive an automated follow-up email that includes information about their specific insurance rep and next steps.
Step 2: Quote Creation and Documentation
Route new quote requests to the correct rep with data routing and automatically start a pre-filled form for more in-depth info the prospect can fill out or the rep can complete during a phone call. Include Calculating Fields to easily estimate costs and perform financial analysis.
Workflow Tip: Skip cutting, pasting, copying, and typing data into documents and automatically generate quote proposals by connecting your form to Formstack Documents.
Step 3: Proposal Review and Signing
Upon completion of the proposal, the insurance rep can electronically sign the document. Formstack Sign’s multiple signers feature will then automatically send the work order document to any other employees who need to review the proposal before sending it to the prospect. Then, automate text or email reminders to ensure the prospect signs off on the document within a specific window of time. If you or the customer prefer on-site signing, both parties can sign in person from a mobile device.

#4: Client Agreements and Payments
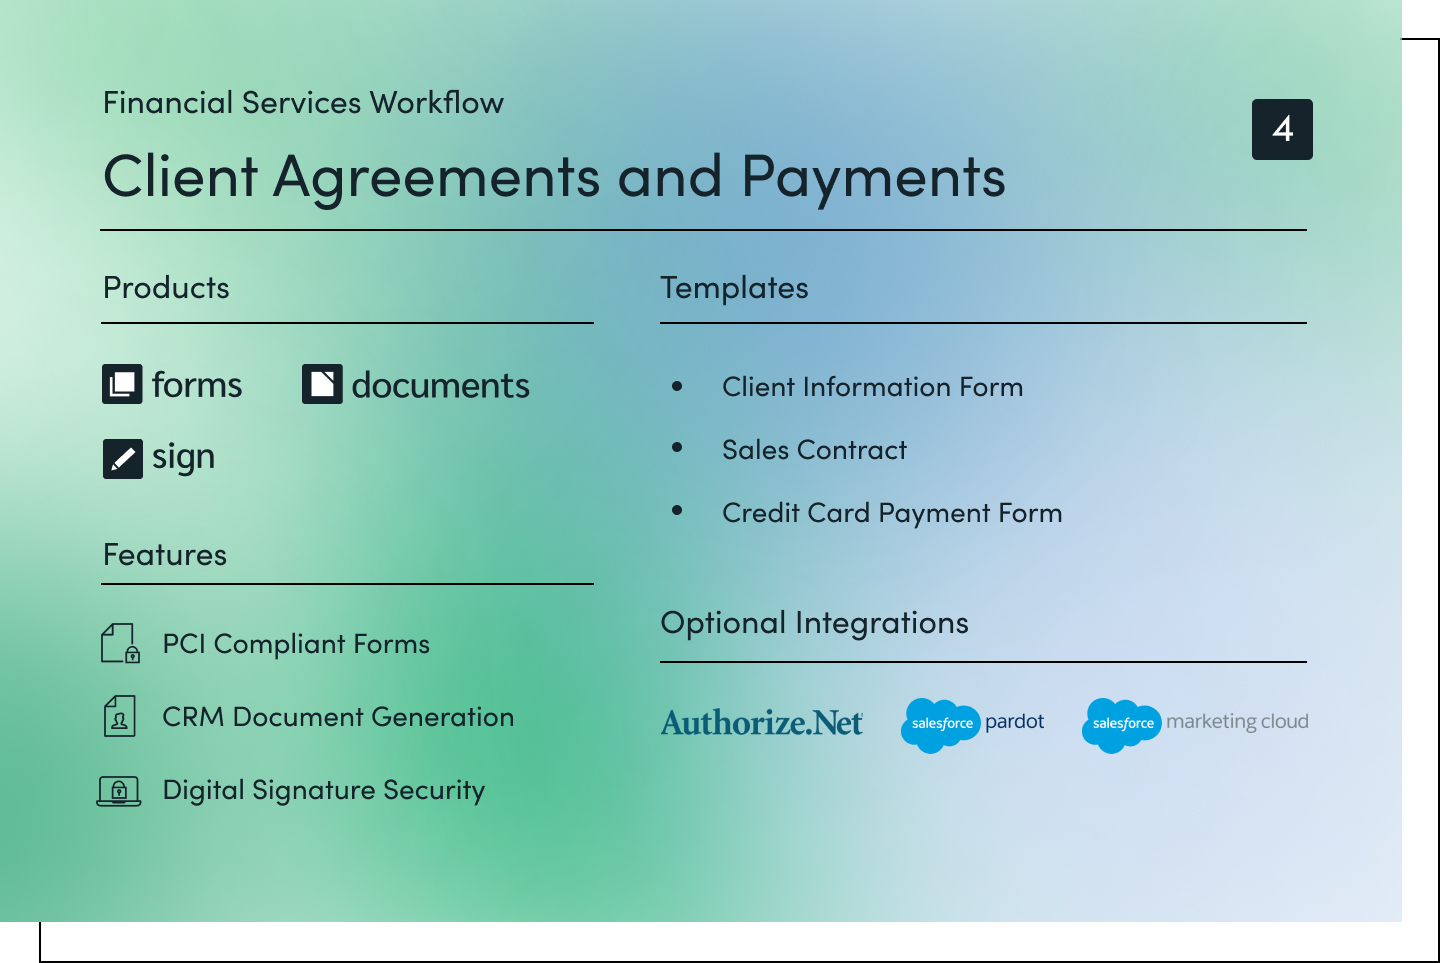
If your organization provides wealth management services, it’s important to have a secure workflow in place for client onboarding. Giving clients a seamless experience that runs efficiently in the back end—from signing the agreement to collecting initial fees—is an absolute must. This finance workflow process takes minimal time to set up and can integrate the systems you use most, ensuring accurate data is sent quickly to the correct people and places.

Products: Suite
Features: PCI Compliant Forms · CRM Document Generation · Digital Signature Security
Templates: Client Information Form · Sales Contract · Credit Card Payment Form · Refer a Friend Template
Optional Integrations: Authorize.Net · Pardot · Salesforce Marketing Cloud
Step 1: New Client Data Collection
Financial advising and wealth management require a lot of data gathering. Creating a positive initial experience is crucial to starting out on the right foot with new clients. Formstack’s secure online forms make it easy to create smooth experiences that won’t frustrate or confuse your clients. Plus, AI-powered forms make it easy for any of your employees to create a robust form in minutes. Adding features like Conditional Logic, Save and Resume, and File Uploads ensures you can collect all the data you need safely and securely while providing clients a streamlined, shortened form they can complete on their own time.
Workflow Tip: Integrate this form with your CRM to eliminate manual data entry and automate other customer welcome and onboarding steps.
Step 2: Agreement Creation and Signing
Use Workflows alongside your onboarding form to send the collected data to all internal parties who need to review and approve the data submission. Still need more client info? Easily send a request to the client through the workflow. Upon approval, use the form data to automatically generate a customized client agreement document to be signed by the financial institution and client. Once all signatures are collected, automatically send it to your document storage solution or CRM.
Step 3: Initial Payment and Referral Offer
These days, few people want to mail in a check or request a wire transfer to pay for their initial deposit. Delight your customers and simplify back-end processing by providing an online payment method. Add your preferred payment processor to an online payment form to gather secure payments or even set up recurring payments in seconds. Once you’ve established a more consistent relationship with the client, create and share a referral form to help encourage more business.

#5: Client Info Change Request
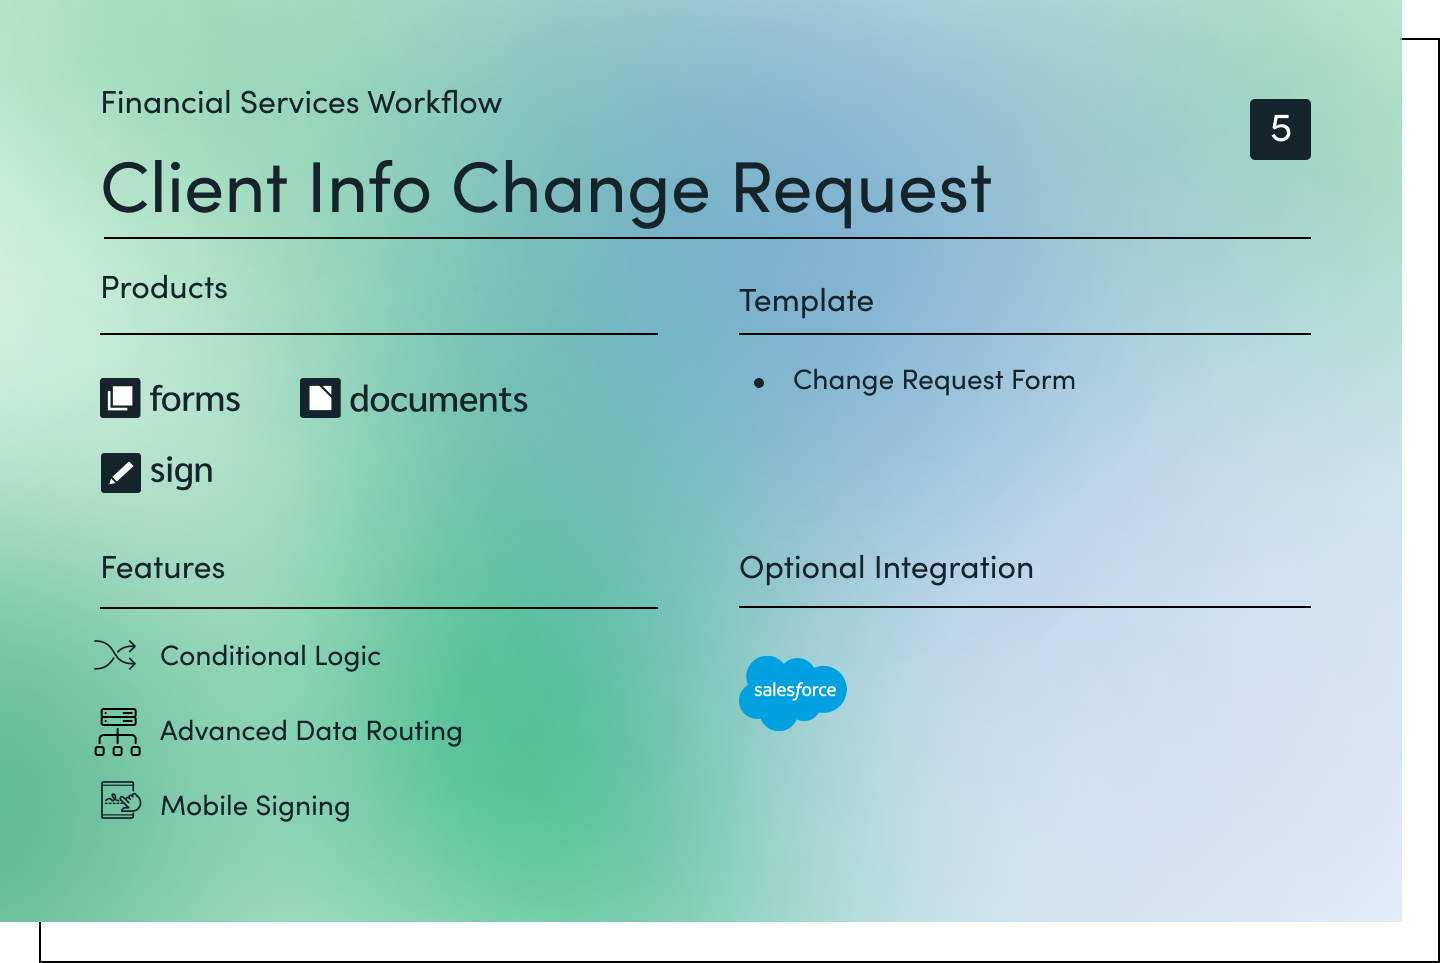
Whether it's updating a credit card number or adjusting insurance policy coverage, handling client change requests is inevitable. Managing these requests can become complicated and confusing without an automated, seamless process. Your employees already have a lot on their plates. Now, simplify their workday with a workflow for client change requests. Easily track new requests, generate signable documents, and receive updates when requests are complete.

Products: Suite
Features: PCI Compliant Forms · CRM Document Generation · Digital Signature Security
Templates: Client Information Form · Sales Contract · Credit Card Payment Form
Optional Integrations: Authorize.Net · Pardot · Salesforce Marketing Cloud
Step 1: Change Request Submission
Streamline change requests by creating an easy-to-use client info change request form with the help of drag and drop. Use Conditional Logic to ask questions that are tailored to the specific type of request. Add a file upload section so clients can upload any necessary documents, such as proof of address. Then, embed the form on your website or client portal so clients can fill it out from a laptop, tablet, or phone.
Step 2: Request Documentation and Assignment
Use Approvals to ensure you’ve collected all the data you need to process the request. If further details are required or the request is invalid, approvers can deny the form submission or send it back to the submitter for more details. Once approved, route the form data into a request document and send it to the team members responsible for making the change.

Step 3: Final Sign-Off
To fully complete the request, require necessary team members to sign off on the change with Formstack Sign’s multiple participant workflow. This will automatically send the request document to the client for eSignature to confirm completion. Then, automate text or email reminders to ensure the client completes the sign-off within a specific window of time.
Workflow Tip: Confirm when a document was sent, how it was sent, and when it was signed with Formstack Sign’s automatic audit trails.
#6: Marketing/Sales Lead Capture
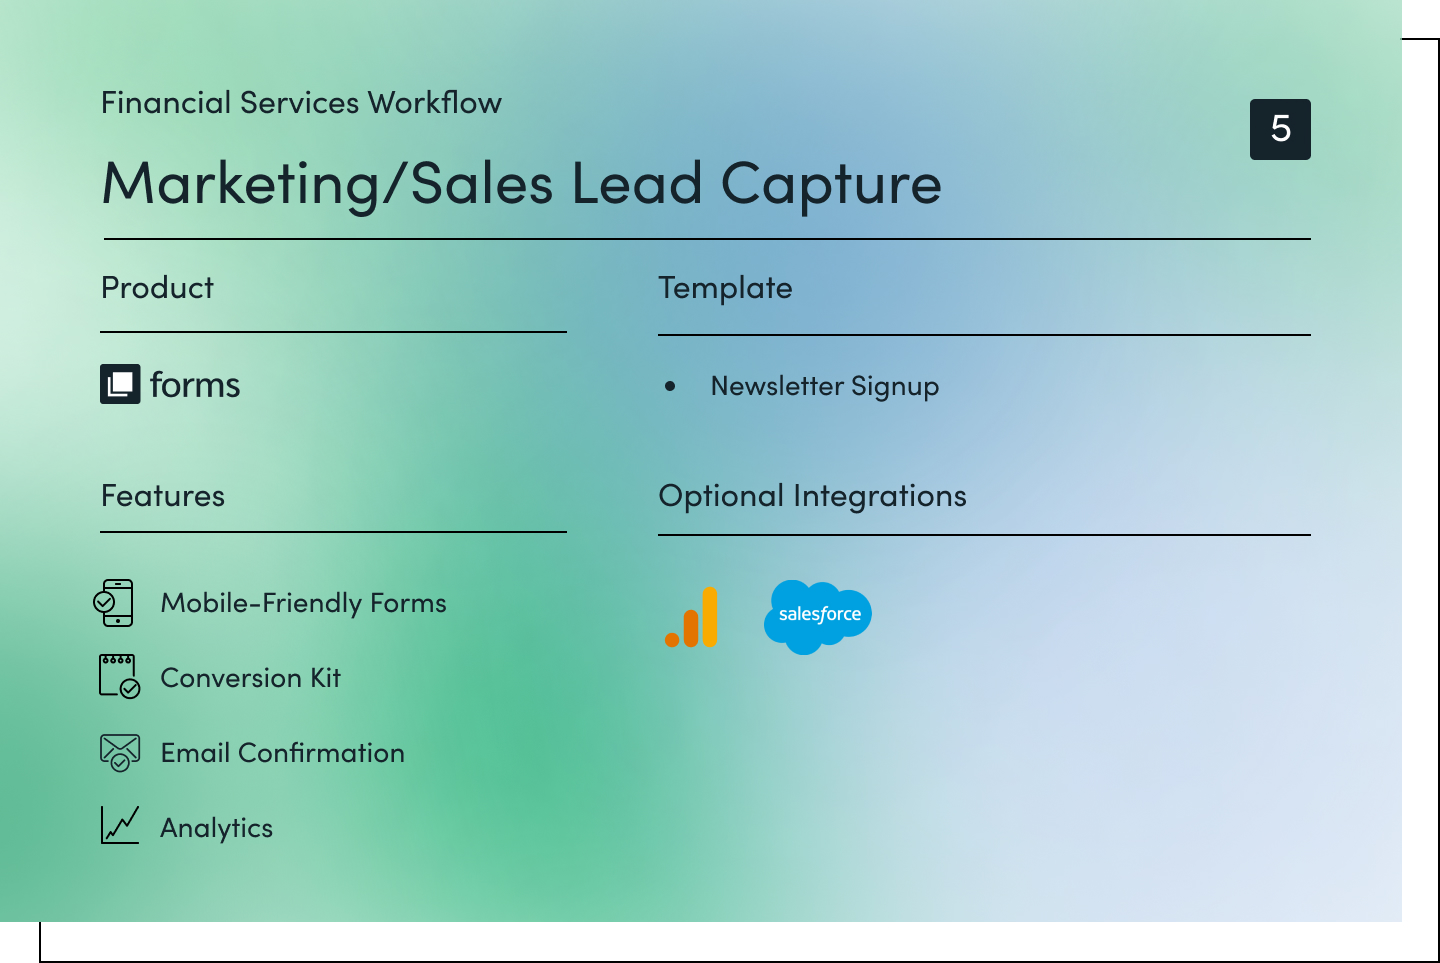
Improve your finserv marketing with campaigns that generate more interest in what your organization has to offer. One way to do this is by offering a monthly email newsletter—an easy way to connect with prospective clients online and showcase your financial expertise. It’s low-risk, low-commitment for them; easily pipeline for you. You can also gather valuable engagement data and find opportunities to further improve your marketing and services.

Product: Forms
Features: Mobile-Friendly Forms · Conversion Kit · Email Confirmations · Analytics
Template: Newsletter Signup
Optional Integrations: Google Analytics · Salesforce
Step 1: Form Optimization
Optimize your signup form for maximum conversions with mobile-friendly capabilities and our Conversion Kit, which enhances your forms with conversion rate optimization (CRO) features to track campaigns, test form elements, and see which fields are causing friction. Tools like Field Bottlenecks can help you identify problem areas and discover opportunities for improvement. You can also add your branding with easy-to-use design tools, embed the form directly on your website, and generate links to send via email.

Step 2: List Building
Connect your signup form to email marketing platforms like Mailchimp, Campaign Monitor, or AWeber to quickly build a newsletter email list. Add details like name and email address to your system for easy reference when analyzing lists or looking for opportunities to include contacts in new email campaigns. You can even include questions like “What topic(s) are you most interested in?” to better inform your newsletter and identify which campaigns will generate the most engagement.
Step 3: Data Analysis
As you build your newsletter list over time, conduct data analysis to pull out helpful insights on your audience. Our analytics dashboard lets you view metrics like unique views, conversion rate, and abandonment rate to monitor your performance over time. You can also include your data in custom visual reports and graphs that can be shared with other members of your team. Want even more data insights? Connect your form to Google Analytics for deeper analysis.
Workflow Tip: Supercharge your marketing efforts by sending newsletter data to Salesforce and automating new lead creation.
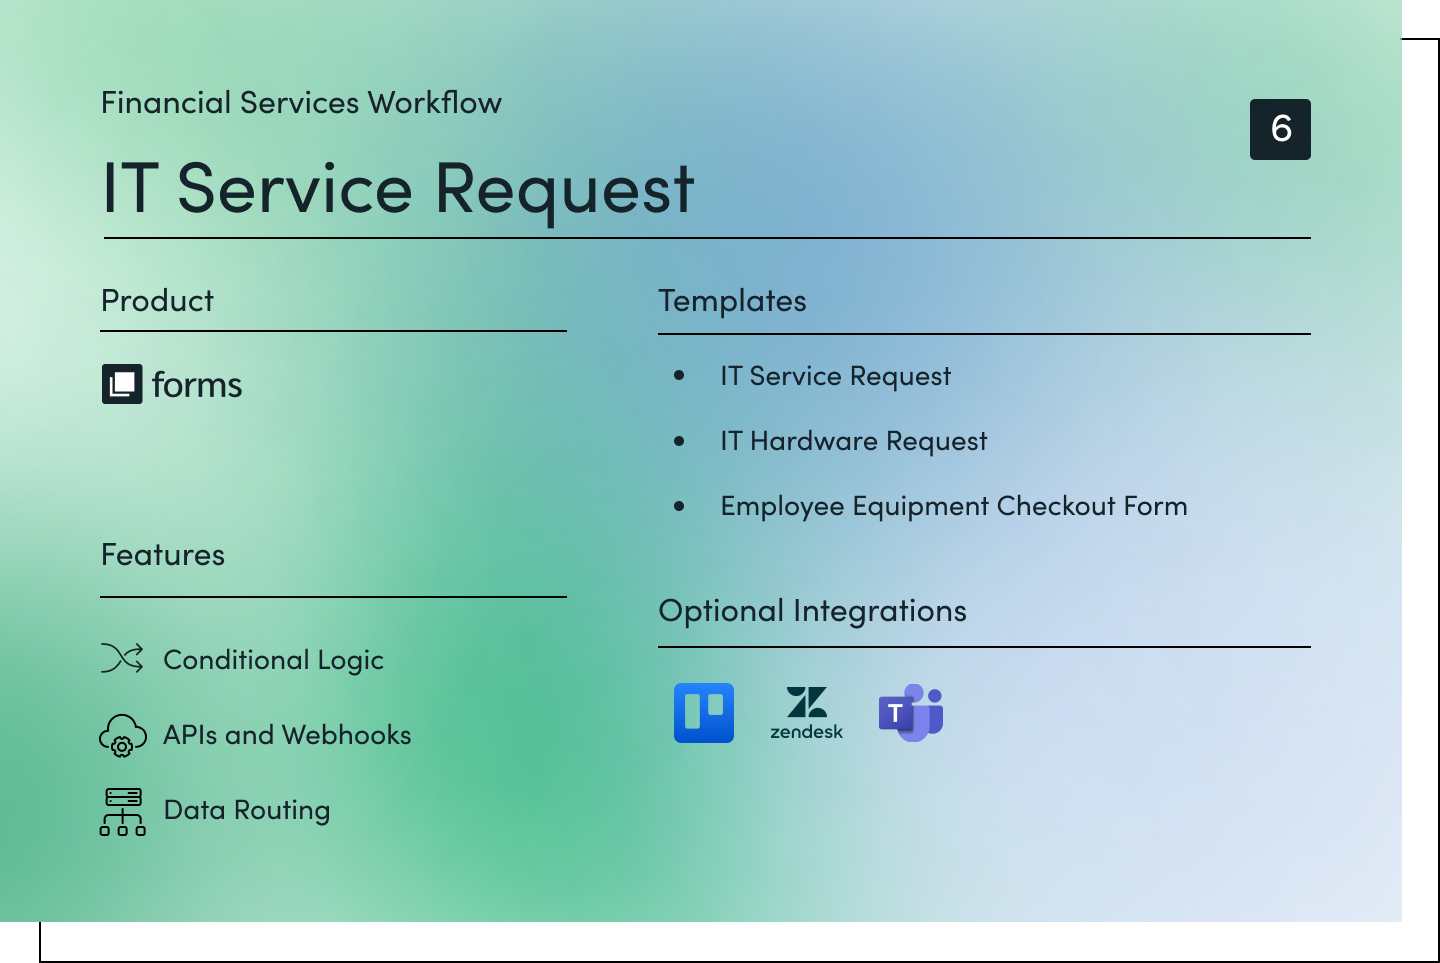
#7: IT Service Request
As finserv institutions and their customers continue to shift to digital workflows and become more reliant on technology, they’ll become more reliant on IT as well. Ensure requests at your organization are addressed quickly and appropriately by creating a robust IT service request process. Easily collect requests, assign them to the correct team member, and track completions in Formstack or your project management tool of choice.

Product: Forms
Features: Conditional Logic · APIs and Webhooks · Data Routing
Templates: IT Service Request · IT Hardware Request · Employee Equipment Checkout Form
Optional Integrations: Trello · Zendesk · Microsoft Teams

Step 1: IT Service Request
Use Conditional Logic to build out a master IT service request form that branches into multiple scenarios, covering everything from equipment rentals and password resets to computer repairs and software assistance. If you choose to build out separate forms, use Smart Lists to quickly manage long, evolving lists of field options across all of your forms. Customers and employees can quickly submit the request from their phone, tablet, or computer. Then, embed the form in your customer portal, website, and help site for easy access.
Step 2: Data Routing and Job Assignment
Upon form completion, form submitters receive an automated email notification with their case number, IT rep, and expected service timeline thanks to hidden fields that autofill based on logic and calculations. Data Routing then sends the form data to the employee responsible for the type of help requested. If your team uses help desk software to track IT requests, you can easily connect it with one of our native integrations or by using Forms APIs and Webhooks.

Step 3: Request Completion
Use Advanced Multi-Step Approvals to allow IT reps to approve requests when completed, then send the data to their manager or department head for final sign-off if needed. Add logic and skip functions to customize each approval sequence based on request requirements. For instance, issuing a new laptop to an employee may require multiple levels of approval within IT or other departments. Upon final approval and form submission, the requestor will receive a summary and any follow-up instructions in an automated message.
Workflow Tip: This is just one way you can streamline IT processes at your organization. Discover other easy ways to raise the bar on IT ops with task automation.
Start Automating Financial Services Workflows Now
Don’t let inefficient processes burn out your employees and deter potential clients. By investing in financial process automation, you can build repeatable, efficient systems that improve employee morale, impress clients, and save your organization time and money.
Ready to take your workflows to the next level? Our visual workflow builder makes it simple to create, test, and launch any process your organization may need. Get started now with a 14-day free trial, or talk with one of our workflow consultants about how to accomplish your goals through workflow automation.


